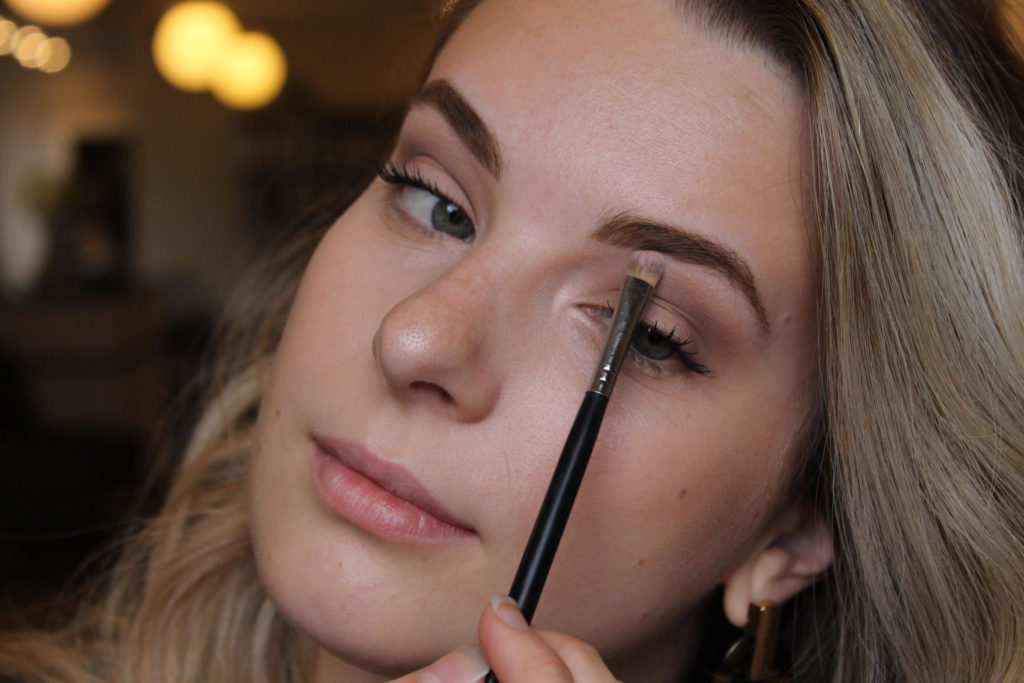
Eyes are supposedly the windows to the soul, and if that’s true, brows are the window frame. They anchor our faces, add dimension, and we would look pretty weird without them. They’re pretty important!
In the last few years, brow trends have changed dramatically: from bold and blocky to bushy and natural, I get brow questions a lot. What color should they be? How do I shape them? How do I fill them in so they look natural? So many things to know about these pesky little things! So, here we go, everything you need to know about taking care of your brows at home!
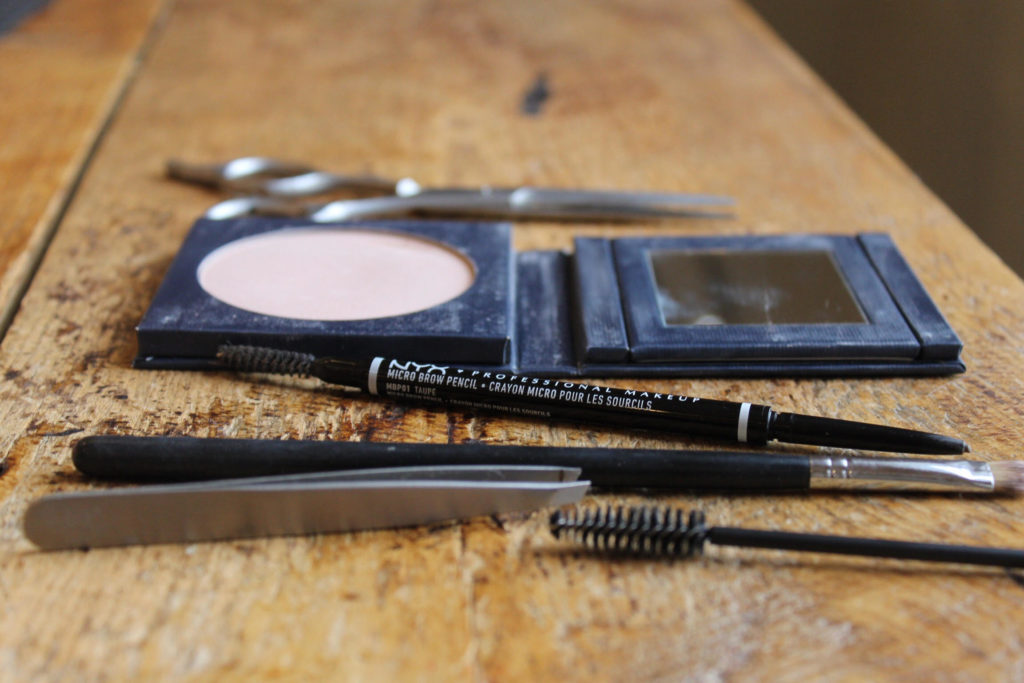
Tools
- mini nail scissor
- clean mascara wand (or one on the back of your brow pencil)
- lighted makeup mirror
- tweezers
- brow product of choice
- flat eye shadow brush and shimmery shadow close to your skin tone
Trimming
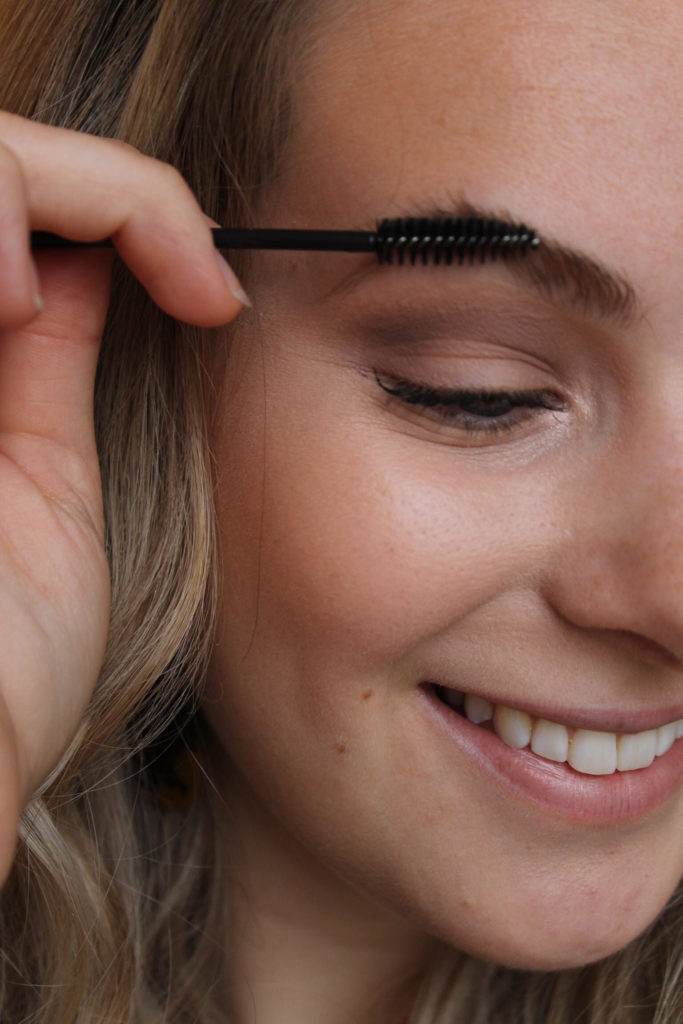
This is always my first step whether I’m working on my own brows or someone else’s. I use a clean mascara wand or a fine tooth comb (whatever ya got, really) and brush all the hairs upward. Then I slide a tiny scissor along the top of my brow. Following the natural shape, I do tiny little snips and trim any brow hair that fall outside the line. (I use my old shears from hair school, but you could use a teeny tiny nail scissor, like this. Would not recommend using a kitchen scissor for this, the key is precision!)
I only brush the hairs up and trim them, not down (towards your eye). If you cut them both ways, they get a bit too short and it thins them out substantially. If you have super thick, long brows you could do this to thin them out a bit. For some people, it feels weird to brush them up because their growth pattern pushed down, but trust me! Trimming them solely gets rid of excess length so they look more polished and are way easier to keep in place!
Shaping
This is the really daunting part, but don’t be scared! If you are really a newbie and don’t want to mess up the shape of your brows too much, start with the hairs that are furthest away from your brows and just pluck those. Then as you move closer you can decide how much more you want to do and you can stop anytime!
I highly recommend doing this in a well lit area, like in front of a window with natural light or using a lighted mirror (I have this one on my vanity that I use for my makeup, too.)
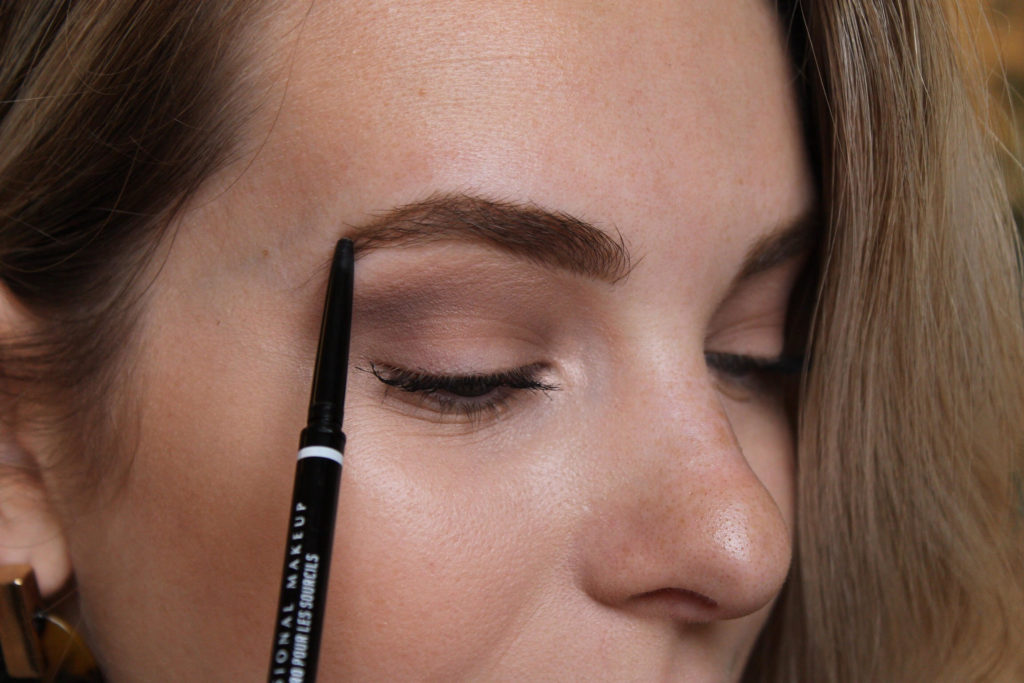
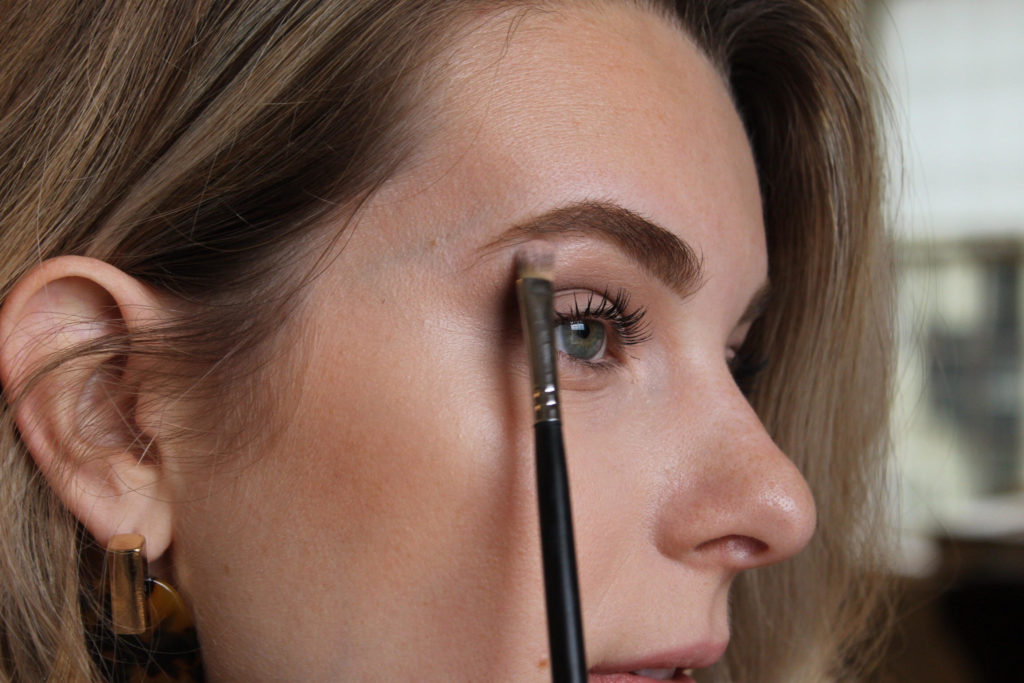
So, as a good rule of thumb, you shouldn’t change your brow shape too dramatically to start out. You can line up your finger with the side on your nose pointing straight up and that’s where the front of your brow should start. Then pivot your finger so it runs near the center of your eye, that’s about when the height of your arch should be. Then keep pivoting to a 45 degree angle and line up your finger with the outside corner of your bottom lash line, that’s about where your brow should end!
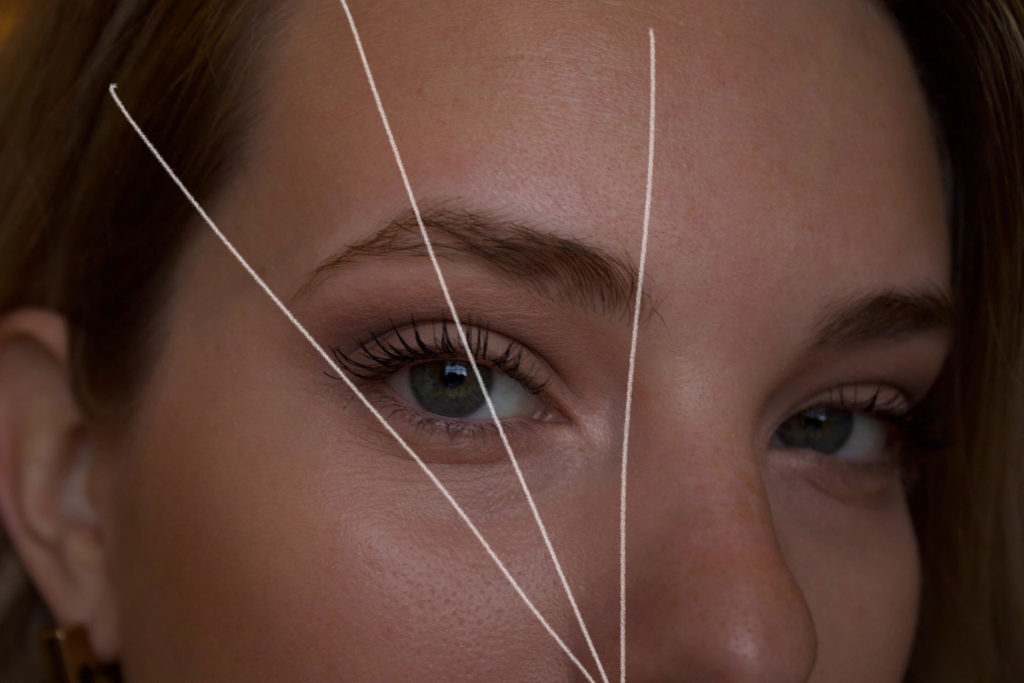
If you really struggle with over plucking, you can outline your brow with white eyeliner to sketch out your shape and then only pluck outside the lines! In my opinion, it’s always better the pluck less than more! You can always take away more, but once you over-pluck it can take a long time for them to fill in again! It’s not to 90’s. Keep your brows THICK!
Also, important note: invest the $13 and get a decent tweezers. Trust me. You’ll use it. This is a frustrating and annoying process to start with, you’ll want to bang your head against the wall if you have a crappy tweezers making things even more difficult! I have one like this that I’ve had forever. ALSO ALSO: Keep your nice tweezers in a special place and use it for JUST your brows so it doesn’t go missing or ruined! We have a “good tweezer” and a “picking hair out of the shower drain” tweezer in my house and I DON’T want them to get mixed up! (ew.)
Defining
Filling in my brows is usually the first step in my makeup routine. It’s a little scary at first and can look strange, but now I feel naked without my brows! It takes 2 seconds, there’s tons of different mediums you can choose from, and your brows will be poppin’ in no time!
Think of your brows like the frame to your face. Without a defined brow, you can feel washed out and flat. Brows bring attention to the eyes and keep them front and center. I personally would rather do more to my brows than to my actual eyelids, you see them more!
How to pick the right color
This can be tough. The first part is easy: choose a color that is closest to your natural hair color. It may take some experimenting with different colors and products to find the perfect match though, and the biggest issue I see is choosing a color that is too light and too red/orange. Unless you are a redhead, avoid warmth in your brow colors. It’s a dead giveaway! I also usually like to go one shade darker than my hair color. I consider myself blonde, so I choose the shade between blonde and brown, taupe. Blonde wouldn’t show up, brown would be too dark. Make sense?
Whether you choose a pencil, powder, pomade, or gel to define your brows is entirely up to you. Here’s the run down on how to choose which product might be best!
Powder
The most forgiving brow option! Powder is easy to apply, blends out quickly, and can add just a bit of color and definition to your natural brows. I like to use an angled makeup brush to tap powder in wherever brows are sparse. The downsides to powder are that it doesn’t last as long as other brow products, and its hard to get a very defined shape since the powder moves more easily. If you’re just starting out, you can try using a taupe eye shadow you already have to mess around with before investing in an actual brow powder, too!
Gel
The most user friendly option! Brow gel is great for those who have naturally bushy brows! It comes in a variety of colors to match your brow hair and is super user friendly. I usually go a shade darker because I like a bolder brow! Adding a thin coat of gel with a mascara-type wand will coat your hairs in a tint of color and stick them into place. Just make sure to let it dry before you touch it! I love this brow gel for light makeup days because it’s so quick and easy to apply! No need to grab a brush or a closeup mirror, just swipe on and done! It’s super important to keep your brows trimmed if you use gel though, otherwise things can look a little too straggly!
Pencil
The most precise brow method! I prefer a micro-tip brow pencil over a sharpenable wood one. The teeny, tiny tip makes it easy to sketch out your outline, and then I use short, quick strokes to draw tiny brow hair. Draw them on in the direction that your hair grows (if hair grows up, flick your pencil upwards, if it grows down, vice-versa.) I’ve used this brow pencil forever, I love it, and it’s super affordable! I use the shade taupe and it’s perfect! Before drawing on anything, I like to use the spoolie to brush all my brow hairs straight down. Then starting on the tail part I do short, downward strokes. When I get past the arch, I brush all the hairs up and use upward strokes to pencil in little hairs. brushing your hair up makes it easier to see the direction of your hair growth! Then after everything is filled in, I use the spoolie to brush my hairs back in place. Pencils are great for anyone who wants natural looking definition, but only needs color in some spots!
Pomade
The most difficult brow product to use in my opinion. This is the best option for you is you are a bit more experienced with makeup, have a steady hand, lots of time to spend perfecting the shape, AND have very thin, fine brow hair. Pomade is great if you like a really bold looking brow. I personally have never used a pomade on myself (too much work!) so I don’t have the best advice on this one, but I know lots of people who swear by it!
Accentuating
This is oftentimes a forgotten step when it comes to brows, but it’s my favorite! Natural looking brows will always be in style and the best trick I’ve found to making them look super-natural is this final step, highlighting!
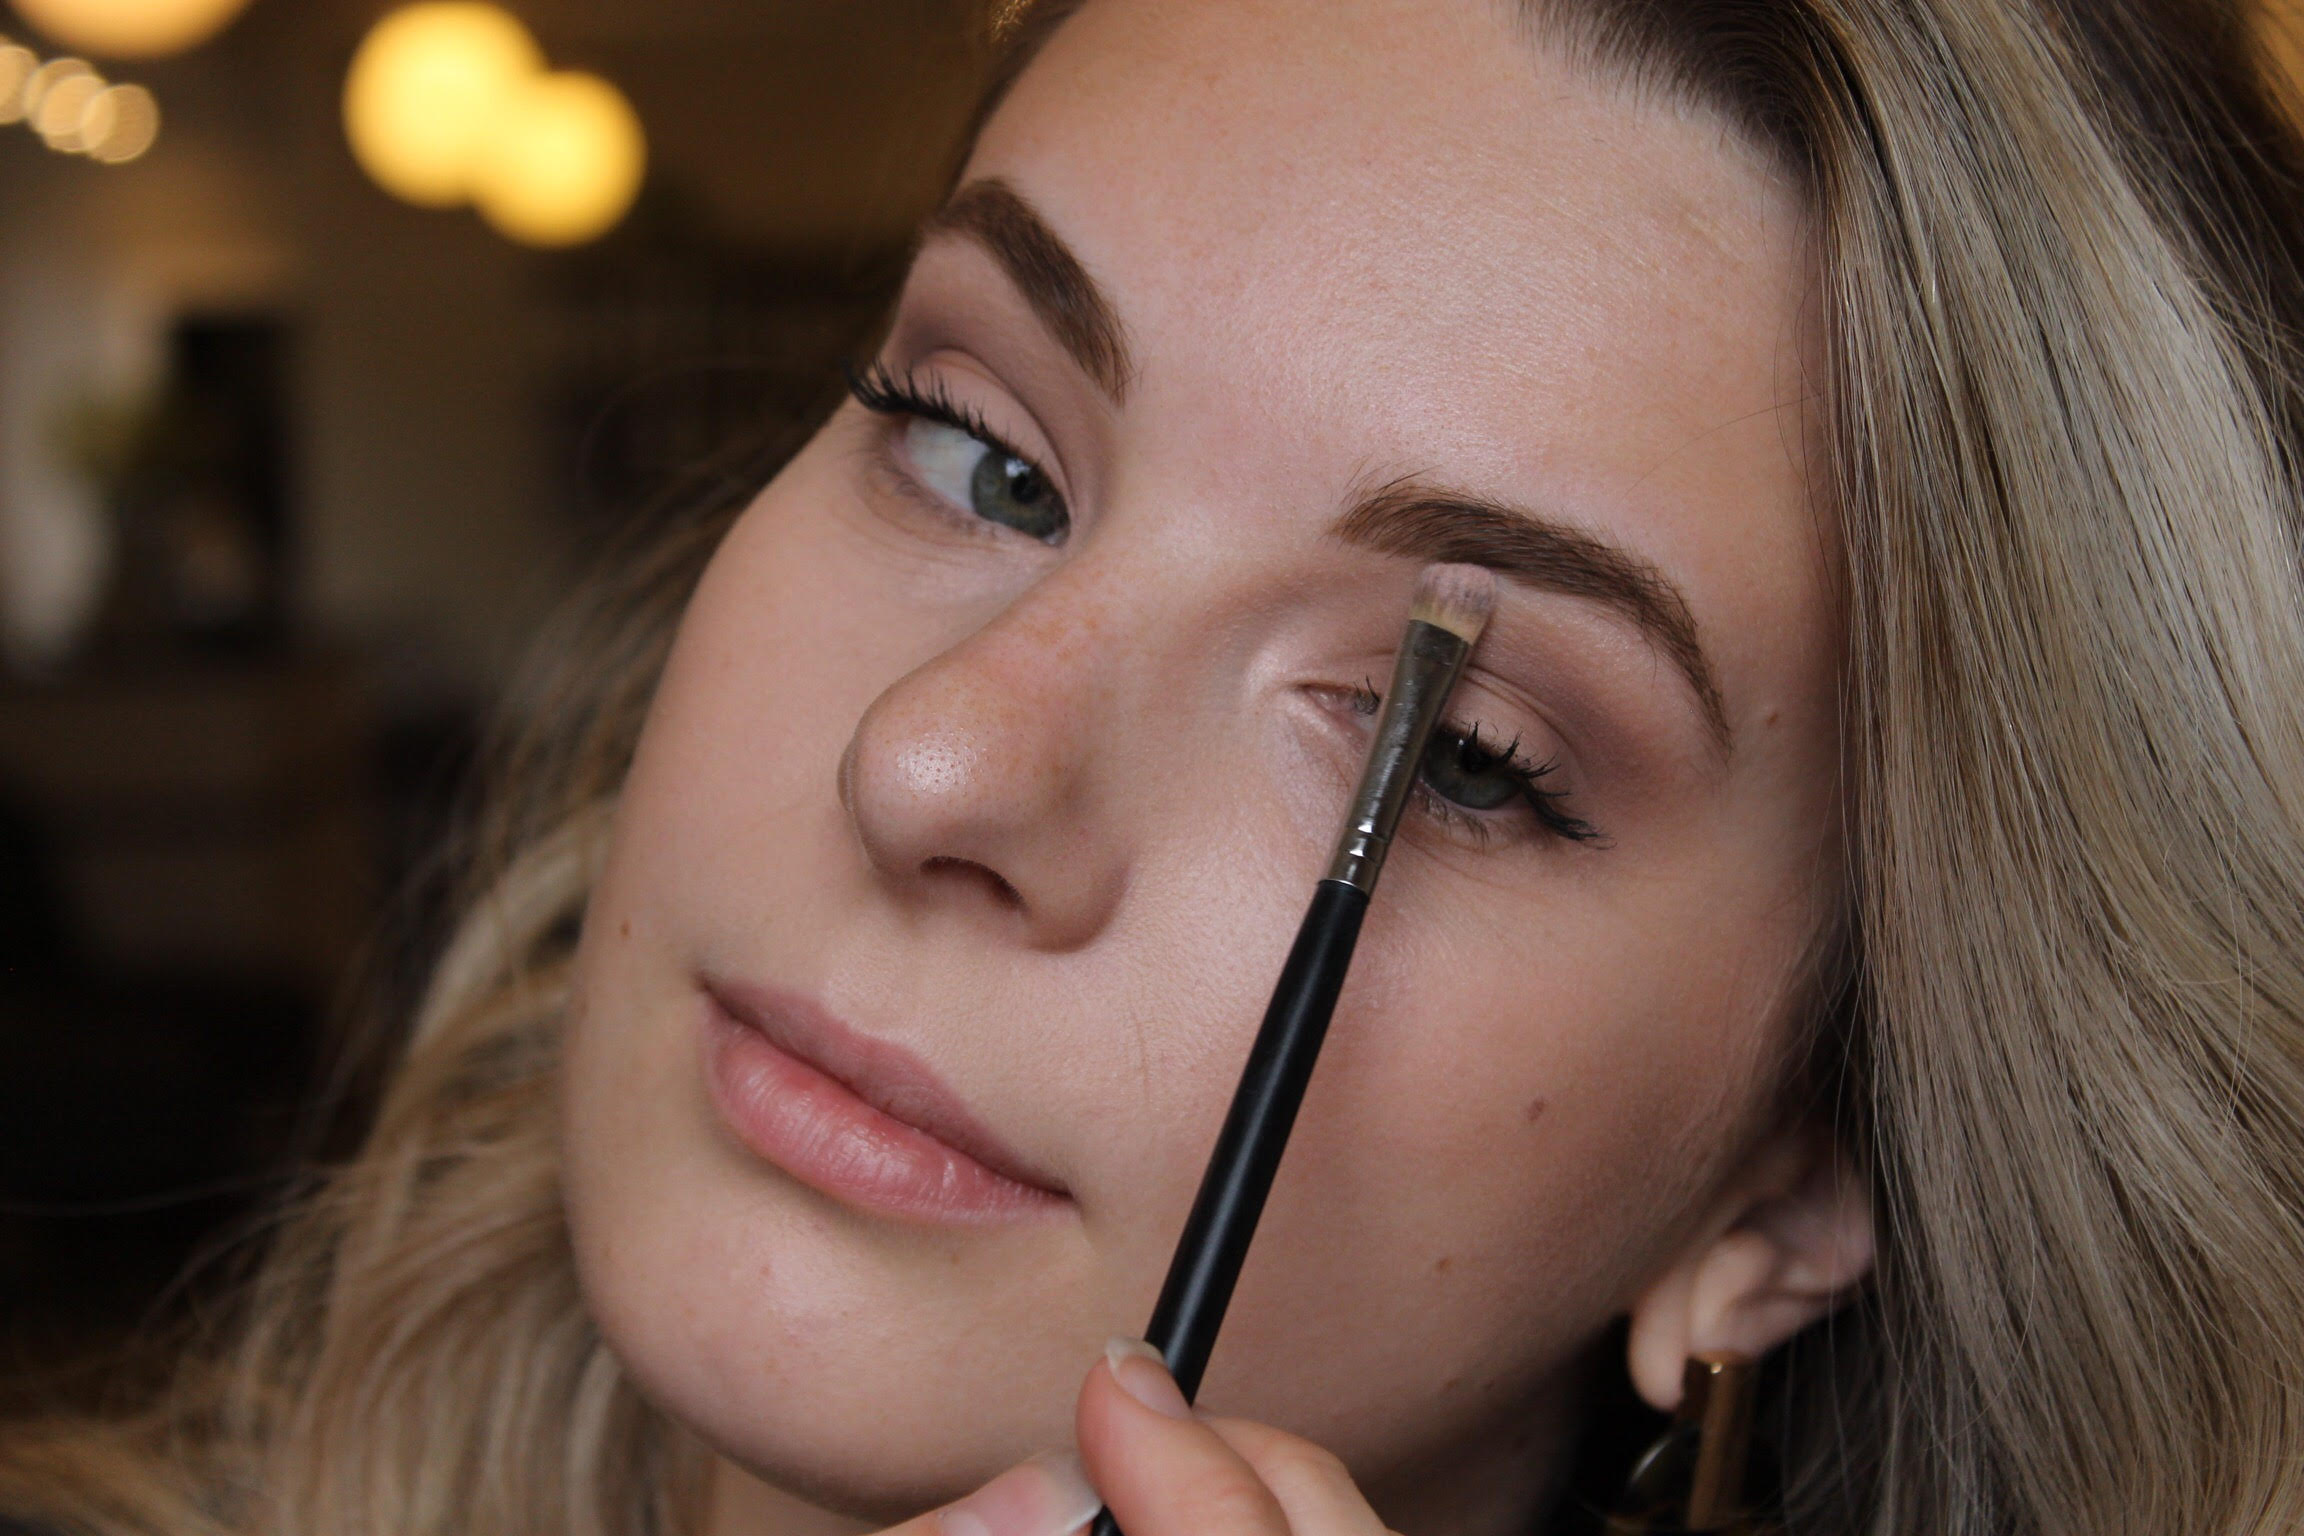
Adding highlight under the brow bone not only brings more attention to the eyes, but it keeps brows from looking painted on. The shimmer of a light eye-shadow softens the edges of your brows and gives you a perfect glow!
I use the same highlights that I use on my cheekbones to highlight my brow bone (this one), but you could use a light eye shadow color too! Whatever is close to your skin tone and has a bit of sheen! I take a flat shader brush and hit right underneath the arch of my brow and then blend out with my finger. You can do this before or after the rest of your makeup, but I love doing this at the very end! It seriously makes your makeup come to life, like your skin is showing right though!
Hope these tips helped you save a little stress when it comes to taking care of your brows, and remember that they don’t have to be perfectly identical! Sisters, not twins.
If you need some professional brow help, you can add a brow wax service onto any hair service in the salon for $18, or book a standalone brow wax anytime! I’d recommend getting a brow wax 3-4 times a year and then using these tips to keep them shapely in between!
Brows– The only thing you can get in shape without a second of cardio.
-me, netflix addict
+ show Comments
- Hide Comments
add a comment